Car cleaning slime has taken the internet by storm, promising an easy and fun way to remove dust and grime from those hard-to-reach nooks and crannies. But is it safe for your car’s interior? And does it work? Let’s dive in and discover how to create your cleaning slime while ensuring your vehicle gets the TLC it deserves.
The Science Behind the Slime
Before we get our hands sticky, it’s important to understand how this gooey concoction works its magic. Cleaning slime is essentially a non-Newtonian fluid. This means its viscosity changes under pressure. When you press it into a crevice, it becomes more fluid, allowing it to seep in and grab onto dust particles. As you lift it away, it becomes more solid, trapping the dirt and lifting it away. The stickiness comes from the combination of glue and a cross-linking agent, usually borax or a similar compound found in contact lens solution. Understanding how cleaning slime works is similar to knowing what is a multi point inspection on a car, as both involve a detailed process to ensure thorough cleaning or inspection.
Slime Recipes: From Simple to Supercharged
The Classic Recipe:
- 4 ounces of clear or white school glue
- 1/2 teaspoon baking soda
- 1 to 1.5 tablespoons of contact lens solution
Instructions:
- Combine the glue and baking soda in a bowl, mixing until well incorporated.
- Slowly add the contact lens solution, a little at a time, stirring constantly.
- The mixture will start to thicken and come together. Once it’s no longer sticky, knead it with your hands until it reaches a slime-like consistency.
The Essential Oil Upgrade:
Add a few drops of your favorite essential oil to the classic recipe for a fresh scent and potential antibacterial properties. Lavender, lemon, or peppermint are popular choices.
The Sudsy Slime:
For extra cleaning power, add a squirt of dish soap to the mixture before adding the contact lens solution. This can help break down greasy residue.
Safety First: Slime and Your Car’s Interior
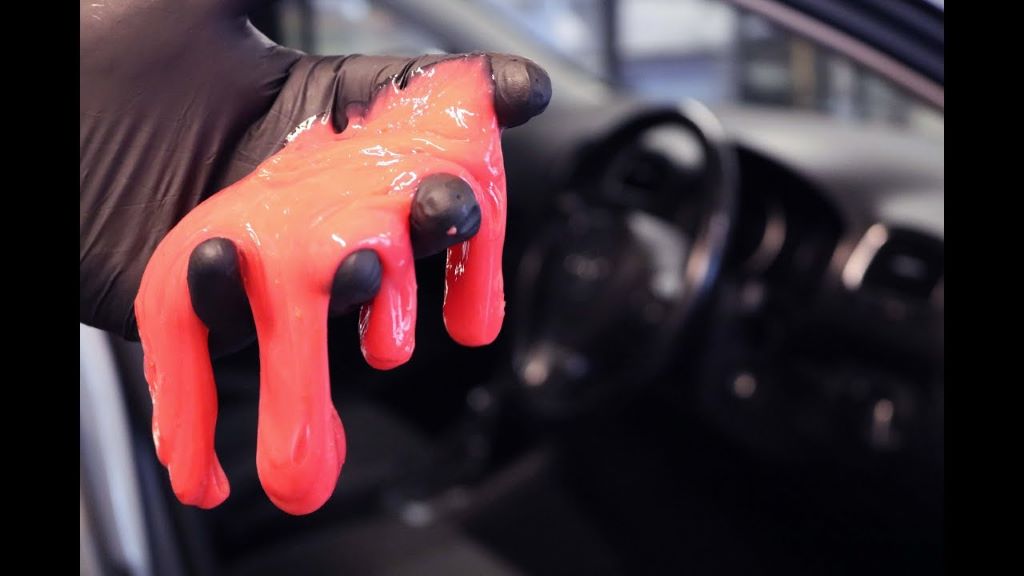
While cleaning slime is generally safe for most car interiors, it’s crucial to test it on a hidden area first. Some materials, like delicate fabrics or leather, could be damaged by the slime’s stickiness or chemical components. If in doubt, consult your car’s owner’s manual or a professional detailer.
To minimize the risk of damage:
- Don’t overwork the slime: Gently press it into crevices and lift it away. Avoid rubbing or scrubbing, as this can cause it to leave a residue.
- Start small: Begin with a small amount of slime and add more as needed.
- Remove excess slime: If any slime gets stuck in a crevice, carefully remove it with a soft cloth or toothpick.
Slime Time: Putting Your Goo to Work
Now that you’ve whipped up your perfect slime, it’s time to tackle those dusty areas. Here are some prime spots to target:
- Air vents
- Cup holders
- Door handles and pockets
- Gear shift
- Steering wheel buttons
- Infotainment screen (with caution)
- Center console crevices
Remember to use a light touch and avoid applying too much pressure. If you encounter any sticky residue, a damp cloth should easily remove it.
Beyond the Basics: Slime Alternatives and Extras
While cleaning slime is a fun and effective tool, it’s not a miracle worker. For heavily soiled areas, a traditional cleaning solution and microfiber cloth may be necessary. You can also find commercially available cleaning gels designed specifically for cars.
Related: Revving a New Era: Car Junk Yard is Adapting to Electric Vehicles
Here are a few extra tips for a spotless interior:
- Microfiber Madness: Invest in high-quality microfiber cloths for dusting and cleaning.
- Compressed Air: A can of compressed air is perfect for blasting dust from tight spaces.
- Detailing Brushes: Soft-bristled brushes can help you reach those extra-tricky spots.
With a little elbow grease and the right tools, your car’s interior will be looking its best in no time!