Picture this: After a long and exhausting day, all you want to do is step into your shower and let the warm water wash away your stress. But what if your shower head is outdated, clogged, or simply not providing the experience you deserve? Fear not, because installing a new shower head is easier than you might think. In this guide, we’ll take you through each step, from gathering the necessary tools to choosing the perfect shower head for your needs.
Importance of a Functional and Efficient Shower Head
Before we dive into the nitty-gritty of installation, let’s talk about why having a functional and efficient shower head is essential. A good shower head can transform your daily routine into a rejuvenating experience. It provides consistent water flow, better water pressure, and adjustable settings to suit your preferences. A well-chosen shower head can save water and energy, making your showers eco-friendly too.
- Water conservation: Showerheads in the United States use an average of 2.5 gallons of water per minute (gpm). A WaterSense-certified showerhead uses 2.0 gpm or less, which can save you hundreds of gallons of water per year. This can save you money on your water bill and help the environment by reducing water consumption.
- Energy conservation: It takes energy to heat water, so using less water means using less energy. A WaterSense-certified showerhead can save you up to 900 kilowatt-hours of energy per year, which can save you money on your energy bill.
- Personal hygiene: An efficient showerhead can help you get cleaner by providing a more powerful and even spray. This can help you remove dirt, oil, and bacteria from your skin more effectively.
- Relaxation and stress relief: Taking a shower can be a great way to relax and de-stress. An efficient showerhead can help you enjoy your shower even more by providing a soothing and refreshing spray.
- Improved health: Showering with warm water can help to open up your pores and remove dirt and oil from your skin. This can help to improve your skin’s health and appearance. Additionally, showering with hot water can help to relieve muscle pain and stiffness.
Overview of the Ease of Installation Process
You’ll be pleasantly surprised to learn that installing a new shower head can be a simple and rewarding DIY project. Here’s a breakdown of the installation process:
Gathering the Tools and Materials
To get started, gather the following tools and materials:
- Adjustable wrench
- Pipe tape (also known as thread-sealing tape)
- New shower head
- Old cloth or towel
Having everything ready before you begin is crucial to streamline the installation process.
Turning off the Water Supply
Before you begin, turn off the water supply to your shower. Locate the water shut-off valve, which is usually found near the shower area. Turning off the water supply ensures a smooth installation process without any unexpected water leaks.
Removing the Old Shower Head
Removing the old showerhead is the first step toward installing a new one. Follow these steps:
- Use an adjustable wrench to loosen and remove the old shower head.
- If the old shower head is stuck or stubborn, wrap a cloth around it and use the wrench for extra leverage.
Preparing the Shower Arm
The shower arm is the pipe that connects the shower head to the wall. It’s important to ensure that it’s clean and free from any damage or corrosion that could affect the new installation.
Applying Thread-Sealing Tape
Thread-sealing tape, also known as pipe tape, is used to create a watertight seal between threaded connections. Wrap the tape around the threads of the shower arm in a clockwise direction. This will prevent leaks and ensure a secure connection.
Installing the New Shower Head
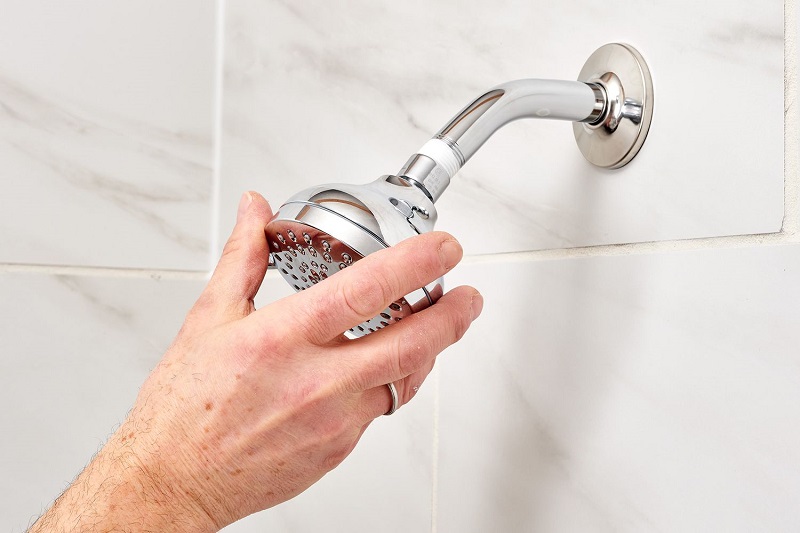
Now it’s time to install the new shower head:
- Screw the new shower head onto the shower arm in a clockwise direction.
- Use your hand to tighten the shower head. Make sure not to over-tighten, as this could damage the threads.
Testing for Leaks
After installing the new shower head, turn on the water supply and check for any leaks. If you notice any leaks, use the adjustable wrench to tighten the connections slightly until the leaks stop.
Troubleshooting Common Issues
If you encounter any issues during installation, don’t worry. Here are some common problems and their solutions:
- Leaky Connections: Check if the connections are properly sealed with thread-sealing tape.
- Low Water Pressure: Ensure the flow restrictor in the new shower head is not clogged.
Exploring Different Types of Shower Heads
Before you choose a new shower head, it’s worth exploring the different types available:
- Fixed shower heads
- Rainfall shower heads
- Handheld shower heads
- High-pressure shower heads
Each type offers a unique showering experience, so consider your preferences and needs.
Choosing the Right Shower Head
Selecting the right shower head involves considering factors like water pressure, spray settings, and style. Match the shower head to your personal preferences to enhance your daily showers.
Installing a Handheld Shower Head
Handheld shower heads provide flexibility and convenience. Here’s how to install one:
- Remove the existing shower head.
- Attach the handheld shower head bracket to the wall.
- Connect the hose to the shower head and bracket.
Frequently Asked Questions
How often should a shower head be replaced?
Replacing a shower head every 8-12 months is recommended, especially if you notice decreased water pressure or clogs.
Can a shower head be installed without professional help?
Absolutely! With the right tools and guidance, installing a shower head is a DIY-friendly project.
How long does it typically take to install a new shower head?
Assuming you have all the necessary tools and materials ready, the installation process can take around 30 minutes to an hour.
Conclusion
Installing a new shower head is a straightforward process that can significantly enhance your daily routine. By following the steps outlined in this guide, you can enjoy improved water pressure, adjustable settings, and a rejuvenating shower experience. Don’t hesitate to take on this DIY project and reap the benefits of your newly installed shower head.